Hey guys! :) I Just wanted to post a simple make-up routine of mine! I wouldn't really call it a smokey eye so lets call it a semi-smokey eye :) I decided to include this within a blog instead of a YouTube video as I am just trying to get into the hang of things and just post a few things within my blog :)
Let's get started :) ...
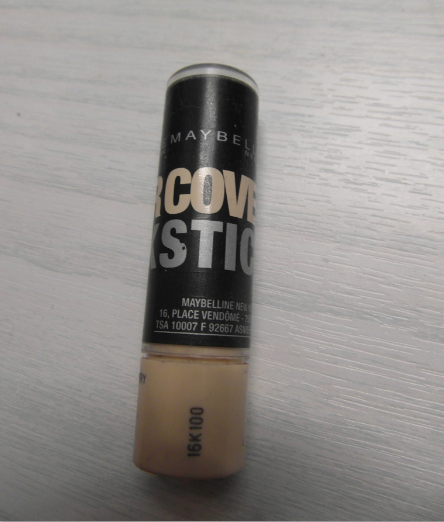
Firstly, I apply a primer but as I have ran out of that I am going to apply my Maybelline New York Cover Stick Concealer, in the colour "01" Ivory.
I purchased this concealer a couple of months ago from Superdrug and I still have a lot of it left. I paid £4.09 for this concealer and in my opinion this is a really good concealer which provides high quality coverage with a matte finish. The only negative area of this product is that it is not waterproof and any coverage may show through during the day. I apply the concealer using my finger as I feel that it would last longer other than pressing the whole thing onto my face.
Here's the link if you guys wanna check it out; http://www.superdrug.com/face/maybelline-concealer-stick-ivory/invt/667552&bklist=

Next I apply my Rimmel London Wake me Up Foundation, again in the colour "100" Ivory. I personally like that this foundation includes SPF 15 and also a light shimmer. If you are the type of person who prefers matte finishes then maybe this isn't the foundation for you. Although the foundation provides a high quality finish and good coverage it includes shimmer in which shows up in the light, this foundation is my favourite for scents as other foundations I have used have not smelt very nice, this foundation has a fruity smell which I personally love! I purchased this foundation from ASDA, I believe they don't stock this product anymore as it is no longer on their webpage but Superdrug do stock this foundation for £8.99.
Here's the link if you want to purchase; http://www.superdrug.com/make-up/rimmel-wake-me-up-foundation-ivory/invt/380852&bklist=
Now its time to apply powder! ;) I purchased this powder from Superdrug. This is the Rimmel London Stay Mattpowder in the colour "001" transparent. This powder was £3.99 I will put the link
here;http://www.superdrug.com/rimmel/rimmel-powder-stay-matte-pressed-powder-transparent/invt/592471&bklist= I use this powder to set my foundation and to give it a more finished and matte look, I have been using this product for a couple of months as you can tell by the picture ;) I would recommend this powder other than a tinted powder as it doesn't affect the appearance of your foundation such as distorting the main colour of your foundation.

Next we have the old fashioned but trustworthy Chapstick! :) I have this Chapstick in the colour/flavour "Cherry" I purchased this Chapstick around 11 months ago and its still going! .. just about ;) I bought this product from Boots, they still stock this product but in an updated purple packaging for £1.05.Boots also stock alternative flavours/colours such as the original Chapstick including SPF10, Apple, Soothing medicated and strawberry.
Go check it out!; http://www.boots.com/en/Chapstick-Cherry_955275/

Next is my eye-shadow/blusher palette. Unfortunately I am unable to provide you guys with a link to this product as it is unbranded and I had this given to me as a gift. I am pretty unfamiliar with this palette as I was never an eye-shadow wearer. Today I used the white & black [top left] to create the "semi-smokey" look. Other stores such as Superdrug, Boots etc. will stock an alternative version of this palette,
Such as;http://www.superdrug.com/accessorize-/accessorize-masquerade-palette/invt/557054&bklist=
Or; http://www.boots.com/en/Too-Faced-Glamour-To-Go_1252787/

To apply the black eye-shadow I am using a small eyeliner brush to put this right in the crease and the outer edge of my eye, This brush is unbranded but
here is a similar product;http://www.superdrug.com/barry-m/barry-m-eyeliner-brush/invt/429650&bklist=
Here I am using the eyeliner brush stated above to apply the black eye-shadow into the crease and outer edge of my eye, I am not putting the eye-shadow any further than the crease as I will be smudging and blending the eye-shadow shortly. I have decided against a wing for this look as I don't want it to look too dramatic.

Next I am going to apply my Rimmel London Glam eyes professional Liquid Eyeliner. I applied this eyeliner on my lid next to my lash line, tracing over the black eye-shadow making it look more defined. I purchased this eyeliner from ASDA for £4.98. In my opinion this is one of the best eyeliners that I have used, the applicator brush is very thin so if you're used to using thicker applicators then this would take some time getting used to. [don't worry this happened to me too(; ] Unfortunately this eyeliner is not waterproof but I am able to gain a full days wear from it, I personally love the way this eyeliner applies, it applies jet black and matte. There are no cracks when applying or wearing this eyeliner and overall I would definitely recommend.
Check it out here; http://direct.asda.com/Rimmel-GlamEyes-Professional-Liquid-Liner---Black-Glamour/004631677,default,pd.html :)
Now it's time to apply my Rimmel London Special Eyes Precision eyeliner pencil! :D I purchased this eyeliner from Superdrug.
(I live in this shop :P) I got this in the colour "jet black" for £2.99 I love the way that the eyeliner applies, it is soft and matte.This eyeliner isn't too light like some eyeliner pencils appear grey, this one definitely applies jet black! I applied this eyeliner to the outer corner of my waterline under the eye-shadow, just focusing mostly on this area ensuring I was applying lots of colour then finally tracing over my waterline.
Check it out; http://www.superdrug.com/rimmel/rimmel-soft-kohl-kajal-eye-pencil-jet-black/invt/512111
Here is the look so far.. (sorry about my eye being rather scary haha! but whatever:P as you can see I have focused more on the outer corner of my eye, I have also applied a small amount of eyeliner to the inner corners of my eye but my main focus for this look is the outer corners.

Now I have applied the eye-shadow and eyeliner it is time to blend! using a small blending brush, again this is unbranded and I am unable to remember where I purchased these so I have found you guys an alternative! :)
Check it out; http://www.superdrug.com/superdrug/superdrug-blending-brush/invt/560901&bklist= :)
I am using the blending brush to smudge out the black eye-shadow from the outer corner of my eye, I don't like to smudge it out too much as you wouldn't be able to see it on my face as I am a glasses wearer.

Next I am going to apply the eye-shadow that I am wearing on my lid, for this look I am going to be using the colour white from my palette. Unfortunately as this palette is unbranded the colours have not been provided with a name so in this case it is just "white." (boring I know ;)) I personally like this colour as it includes a lot of shimmer and I am able to blend the white into other colours. I am going to apply this colour to my lid using my finger as I feel that it applies a lot thicker and more matte, I am aiming for this so that the colour stands out.
 <<<< And this is what the white colour appears like on my lid.
I have created a grey colour using the white and black eye-shadows by blending them together. I feel that by blending these two colours it provides a more smokey look and helps the black eye-shadow and liner to stand out. I am aware that it is a bit messy but all it needs is a little more blending!

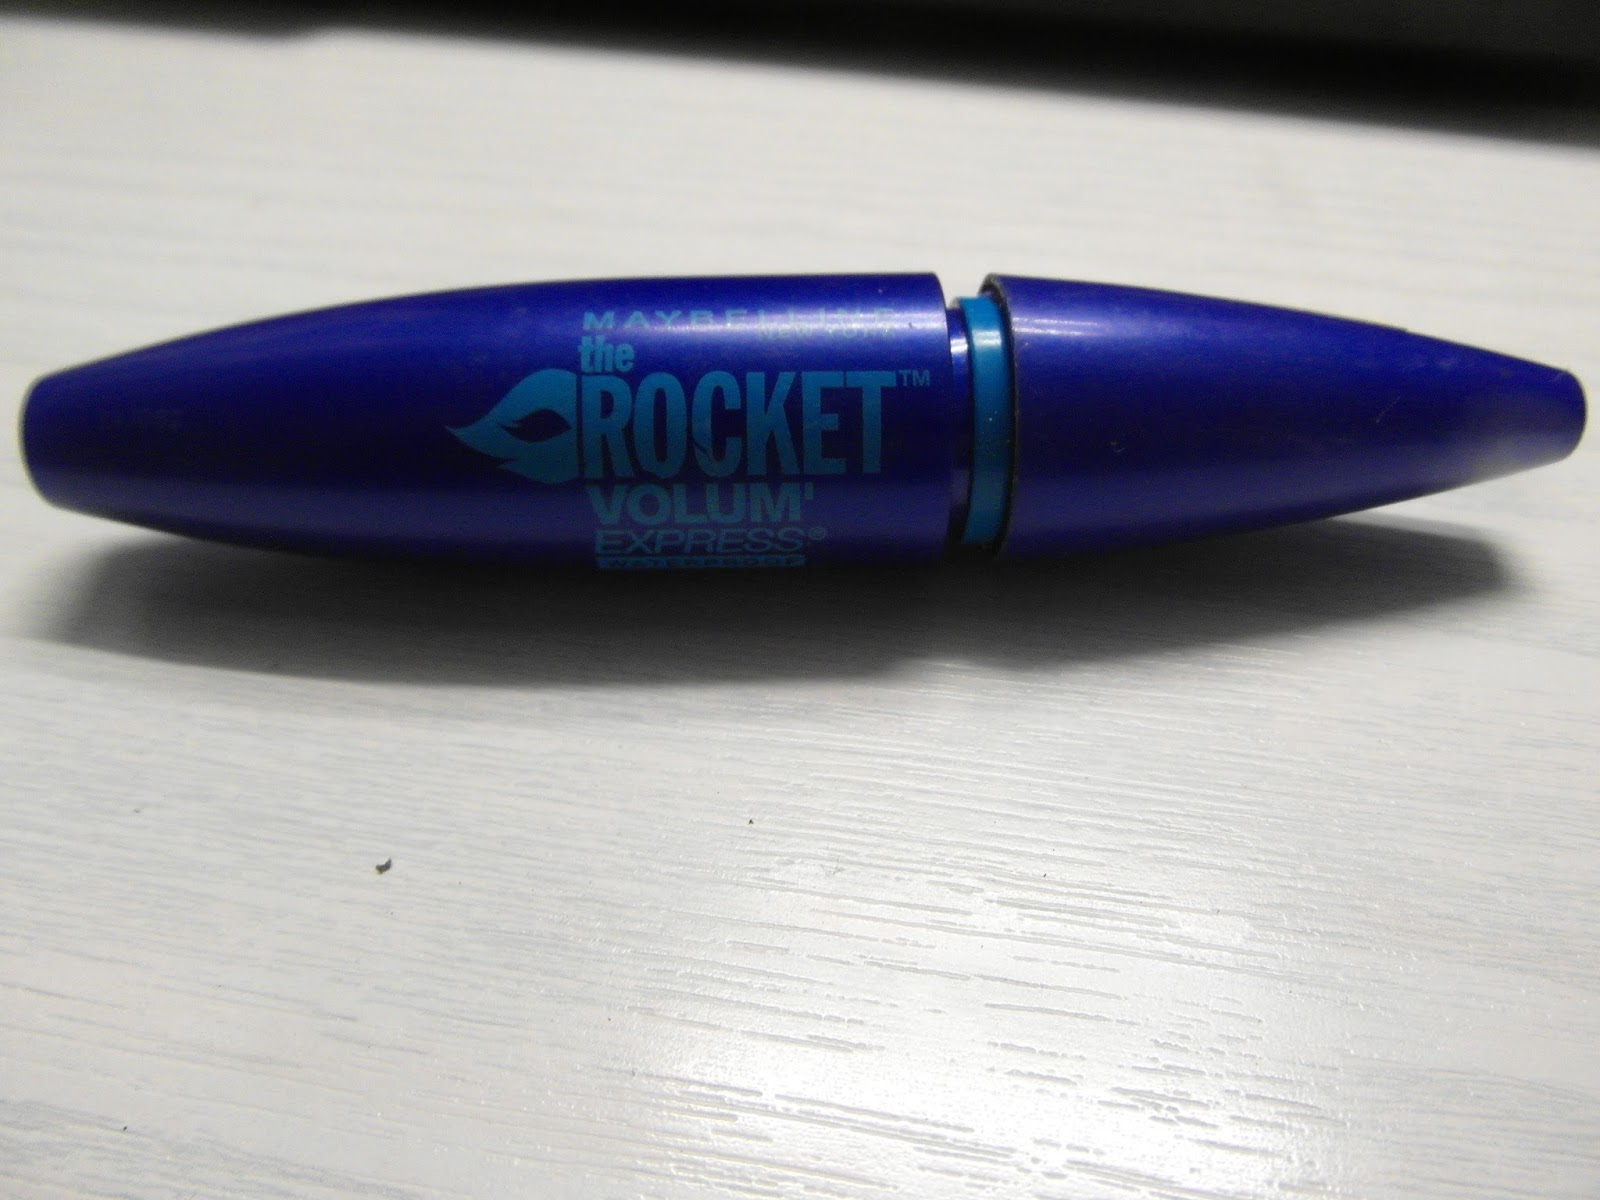
Now onto my lashes! I am going to apply my Maybelline New York, Rocket Volum' Express mascara! I have this mascara in the waterproof version. I purchased this mascara from ASDA for £7.98, I have previously owned one of these mascaras but in the non-waterproof version. For my birthday I was planning on going on holiday with my boyfriend which consisted of a hot tub, and for what we didn't know.. very hot weather that week! so a waterproof mascara was a definite must! I have no negative points towards this mascara as it does what it says it does.It is waterproof, it has excellent wearing time, it does not run and it does not clump your eyelashes together!
Here is the link for this mascara! :) http://groceries.asda.com/asda-webstore/landing/home.shtml?referrer=cookiesDetecting#/product/910000995102
<<< Here is the look after the eye-shadow and mascara applied! :) I tried not to make this look too dramatic as it is just an everyday, stay at home look. To make this look more dramatic you could add more black eye-shadow so you are able to smudge it out further, add a wing using the liquid eyeliner and you could also apply fake eyelashes!

We are nearly there guys! haha, so up next is my eyebrows.. for my eyebrows I am going to use my MUA eyebrow pencil in the colour "brunette." Again, I purchased this product from Superdrug for £1.00. It is double-ended which in my opinion is very handy as it saves me from carrying around an eyebrow pencil and an eyebrow brush. The pencil comes with two lids for each end, which I am currently using one of the ends for an eyeliner pencil which has lost a lid! :( This pencil is very soft and sharpens without any trouble, it blends in perfect with my eyebrows and doesn't smudge/run in the heat or in water.
<<< Here is the finished look including all of the above products! This is how the eyebrow pencil looks, I own some eyebrow stencils but this look was carried out without them. I did not use very much of this pencil I just ran it lightly over my eyebrows and filled it in.

Finally, this is the last product that I used to create this look, This is the Collection 2000 Fix me up long lasting make-up fixer. I did not intend to buy this when I bought it but Superdrug had a 3 for 2 deal on. I bought this product for £3.99 I feel that this was a good buy as I feel confident that it is going to hold my make-up in place throughout the day!
Thanks for reading guys! hope you like my look! :)
I Love You All!
Mwaaaaaaah! x


 So this is after about 5 applications of the product! as it is a gradual lightener it does not instantly change the colour of your hair. Although I applied this product around 7 times it did not change my hair much to what it has in this photo, when I took this photo my hair was very new and I am standing in front of the window. (that's maybe why it looks to have a ginger tint!) but my hair is now a tad blonder than in this photo! I wish I had taken step by step photos of my transition!!


.JPG)